
1. Pick your beads/pearls and ribbon. For mine I chose 2 sizes of grey pearls (about 8mm and 10 mm) and black satin ribbon (roughly 15mm thick). I love dark/neutral jewelry because it goes with just about everything. I used 22 pearls (11 of each), which was about 11 inches. I would say between 10 and 12 is a good length for your beads, unless you want a choker or long necklace.
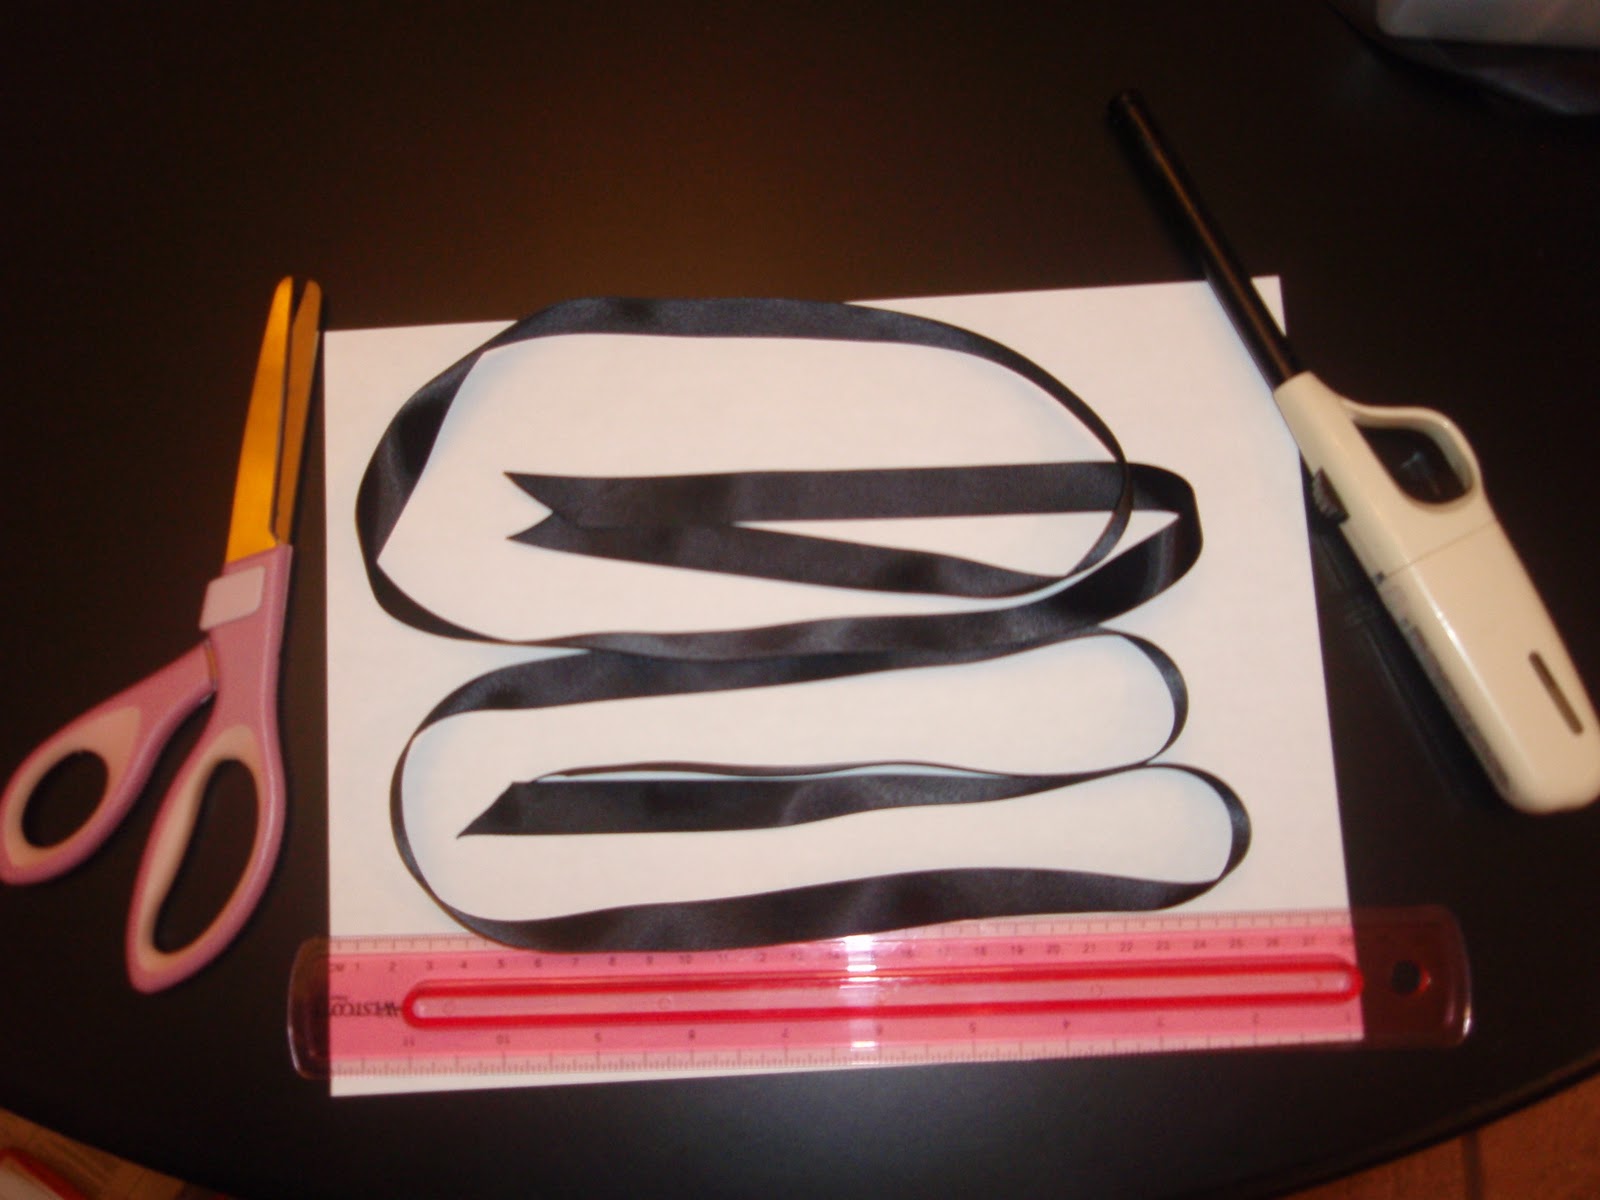
2. Cut 2 pieces of ribbon, each about 1 yard (3 feet) in length. So the ends don't fray, lightly run a lighter or match near the ribbon end (don't get too close, it will melt the ribbon into a nasty mess).

(My workspace-the kitchen table-is black so put my ribbon on a piece of paper to show you. While living in a condo the kitchen table also doubles as my craft table. Can't wait to have a house and a room to "craft" in!)

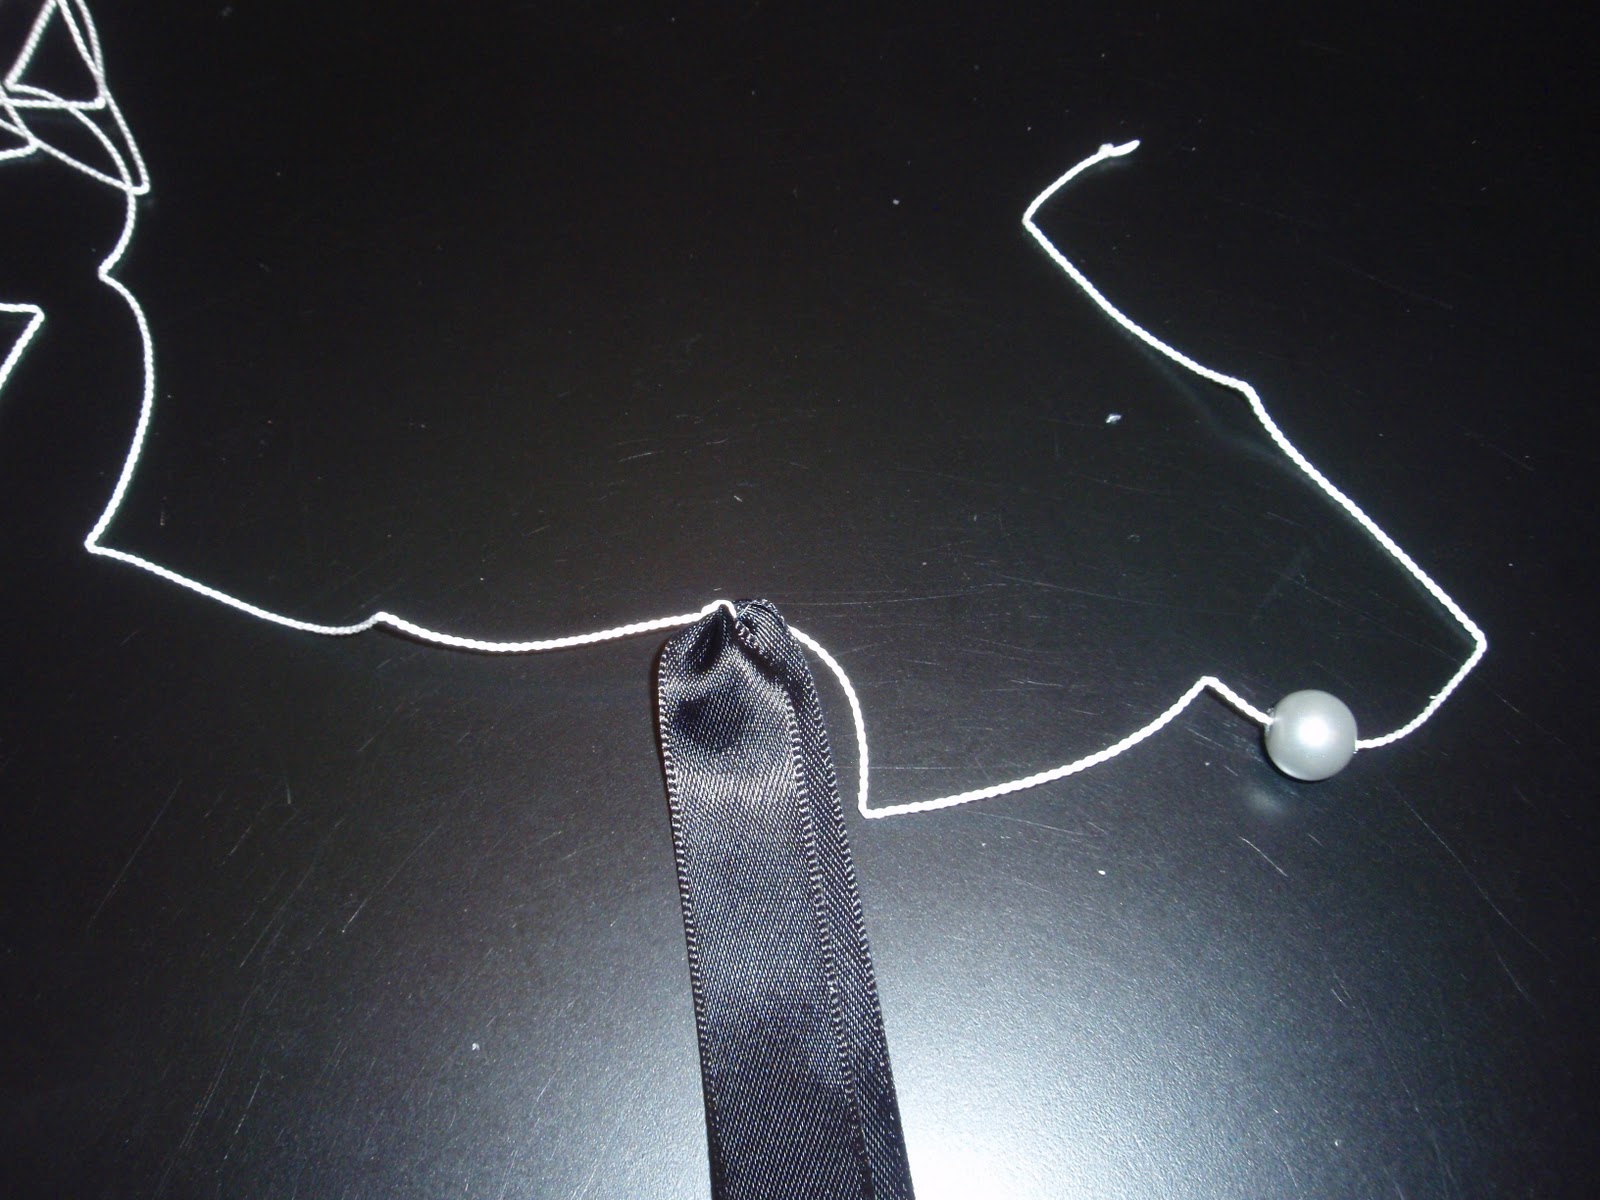
3. Take the cord (above) all the way off the spool. Put a bead on leaving about 5 inches (I did more than 5, but you only need a couple inches) between the bead and knotted end (the end without the needle). Tie a double (or triple) knot with the cord around mid point of one ribbon (see pictures below - the knot needs to be between the needle and the bead). Make sure its secure.

4. Put needle back through bead so long and short cord are both coming through the same hole of the bead. (see picture below) Tie short end of cord & long to make a knot after the 1st bead. I recommend a double or triple knot and then using glue (jewelry or super glue) on the knot so that it doesn't ever come out. Especially if your cord is silk/soft. Trim the short piece of cord off.

5. Tie a double knot (sometimes a single knot is too small depending on the size of the cord and the size of the bead opening) after the second bead. Continue adding beads and tying double knots until you have reached your desired length. Tying the knots directly behind the beads can be tricky. To make it a little easier, grab right after the bead with tweezers or small pliers in left hand. Take the needle in right hand, go behind tweezers (moving left) and then go over tweezers (moving right) and take needle behind and under cord on right side of tweezers. Pull string tight, don't let go of string with tweezers until knot is made completely. (It might help to practice on spare string, it took me a couple of times to perfect my technique). Make sure the cord to the left of the pliers is all the way to the left of it so your knot gets as close to the bead as possible. If you get a knot a couple mm away from the bead, making a double or triple knot usually takes up the space.


6. Once you put on the desired amount of beads tie a good double knot after the last bead. Then use the string to double or triple knot around the middle of the 2nd piece of ribbon. Take needle back through the last bead and tie a double knot between the last and 2nd to last bead. Put a drop of glue on the double knot and on the knot after the last bead (not the knot on the ribbon). Trim off the excess (If you used a 2 meter piece, you will probably have enough for another necklace or a bracelet). And admire the finished product!
Mine has a couple flaws as it was my first attempt at this piece, but I am very happy with it & can't wait to wear it! I'll post a picture of me with it on. It doesn't exactly go with my pajamas right now. :)
If you don't have the time or skill/patience to make one of these, let me know and we can work something out!
Lauren
Update: After wearing my necklace the first time, I had to make a new one. I didn't tie my knots after the first beads secure enough & it came off the ribbon. But I made the changes in the directions & my second one is much better! The key: double knots and glue around the beads at the very end!
2. Cut 2 pieces of ribbon, each about 1 yard (3 feet) in length. So the ends don't fray, lightly run a lighter or match near the ribbon end (don't get too close, it will melt the ribbon into a nasty mess).
(My workspace-the kitchen table-is black so put my ribbon on a piece of paper to show you. While living in a condo the kitchen table also doubles as my craft table. Can't wait to have a house and a room to "craft" in!)

3. Take the cord (above) all the way off the spool. Put a bead on leaving about 5 inches (I did more than 5, but you only need a couple inches) between the bead and knotted end (the end without the needle). Tie a double (or triple) knot with the cord around mid point of one ribbon (see pictures below - the knot needs to be between the needle and the bead). Make sure its secure.
4. Put needle back through bead so long and short cord are both coming through the same hole of the bead. (see picture below) Tie short end of cord & long to make a knot after the 1st bead. I recommend a double or triple knot and then using glue (jewelry or super glue) on the knot so that it doesn't ever come out. Especially if your cord is silk/soft. Trim the short piece of cord off.

5. Tie a double knot (sometimes a single knot is too small depending on the size of the cord and the size of the bead opening) after the second bead. Continue adding beads and tying double knots until you have reached your desired length. Tying the knots directly behind the beads can be tricky. To make it a little easier, grab right after the bead with tweezers or small pliers in left hand. Take the needle in right hand, go behind tweezers (moving left) and then go over tweezers (moving right) and take needle behind and under cord on right side of tweezers. Pull string tight, don't let go of string with tweezers until knot is made completely. (It might help to practice on spare string, it took me a couple of times to perfect my technique). Make sure the cord to the left of the pliers is all the way to the left of it so your knot gets as close to the bead as possible. If you get a knot a couple mm away from the bead, making a double or triple knot usually takes up the space.


6. Once you put on the desired amount of beads tie a good double knot after the last bead. Then use the string to double or triple knot around the middle of the 2nd piece of ribbon. Take needle back through the last bead and tie a double knot between the last and 2nd to last bead. Put a drop of glue on the double knot and on the knot after the last bead (not the knot on the ribbon). Trim off the excess (If you used a 2 meter piece, you will probably have enough for another necklace or a bracelet). And admire the finished product!
Mine has a couple flaws as it was my first attempt at this piece, but I am very happy with it & can't wait to wear it! I'll post a picture of me with it on. It doesn't exactly go with my pajamas right now. :)
If you don't have the time or skill/patience to make one of these, let me know and we can work something out!
Lauren
Update: After wearing my necklace the first time, I had to make a new one. I didn't tie my knots after the first beads secure enough & it came off the ribbon. But I made the changes in the directions & my second one is much better! The key: double knots and glue around the beads at the very end!


This looks so cool! I want to try it!
ReplyDeleteYay! Go for it! I'm probably going to make a couple more with different beads & ribbon. I have some old necklaces I don't wear anymore so I'm going to use the beads for new ones.
ReplyDeleteLOVING your new blog! Keep it up Lauren and I miss you!
ReplyDelete